How do I use the Eevee rendering engine in Blender?
Dec 19, 2025
Leave a message
How do I use the Eevee rendering engine in Blender?
Hey there, fellow Blender enthusiasts! I'm part of a Blender supplier team, and I know how exciting it is to explore all the amazing features in Blender. One of the really cool things in Blender is the Eevee rendering engine. In this blog, I'll share with you how to use the Eevee rendering engine and get some awesome results.
First off, let's talk a bit about what Eevee is. Eevee is a real - time rendering engine in Blender. It's super fast, which means you can see the changes you make to your scene almost instantly. This is a huge advantage, especially when you're prototyping or just want to get a quick look at how your model will look with different lighting and materials.
Now, let's get into the nitty - gritty of using Eevee.
-
Switching to Eevee
When you open Blender, you'll see a rendering engine selector at the top of the 3D viewport. By default, it might be set to Cycles (another great rendering engine in Blender). Just click on that dropdown menu and select Eevee. Once you've done that, you're ready to start using Eevee for your renderings. -
Lighting in Eevee
Lighting is crucial in any rendering, and Eevee has its own unique way of handling it.- Point Lights: These work just like a light bulb in real life. You can add a point light by going to the "Add" menu, then selecting "Light" and choosing "Point." You can adjust the color, intensity, and distance of the point light. In Eevee, point lights can create nice soft shadows and add some warm highlights to your model.
- Sun Lights: Sun lights are great for simulating natural sunlight. They act like a light source that's very far away, so the light rays are parallel. You can change the direction of the sun light to create different lighting conditions. For example, if you want a sunrise or sunset look, you can adjust the angle of the sun light accordingly.
- Spot Lights: Spot lights are like flashlights. They have a cone - shaped beam of light. You can control the angle of the cone and the intensity of the light. Spot lights are useful for highlighting a specific part of your scene.
-
Materials in Eevee
Materials give your objects their surface properties, like color, reflectivity, and transparency.- Principled BSDF: This is the go - to material in Eevee. It's a very versatile material that can simulate a wide range of surfaces, from metals to plastics to glass. You can adjust the Base Color, Metallic, Roughness, and other properties to get the look you want. For example, if you want to make a shiny metal object, you can set the Metallic value to 1 and the Roughness value to 0.
- Transparent Materials: To create transparent materials like glass, you can use the Principled BSDF and adjust the Transmission value. You can also add some Refraction and dispersion to make the transparent material look more realistic.
-
Cameras in Eevee
The camera is how you define what the viewer will see in the final render.- You can create a new camera by going to the "Add" menu and selecting "Camera." Once you have a camera, you can move it around the scene using the camera controls. In Eevee, you can also use the "Lock Camera to View" option. This allows you to move around the scene as if you were the camera. It's really handy for getting the perfect shot.
-
Rendering in Eevee
Once you have set up your scene with lighting, materials, and camera, it's time to render. You can start the rendering process by going to the "Render" menu and selecting "Render Image" or "Render Animation." Eevee will render your scene in real - time, so you can see the result on the screen as it's being generated.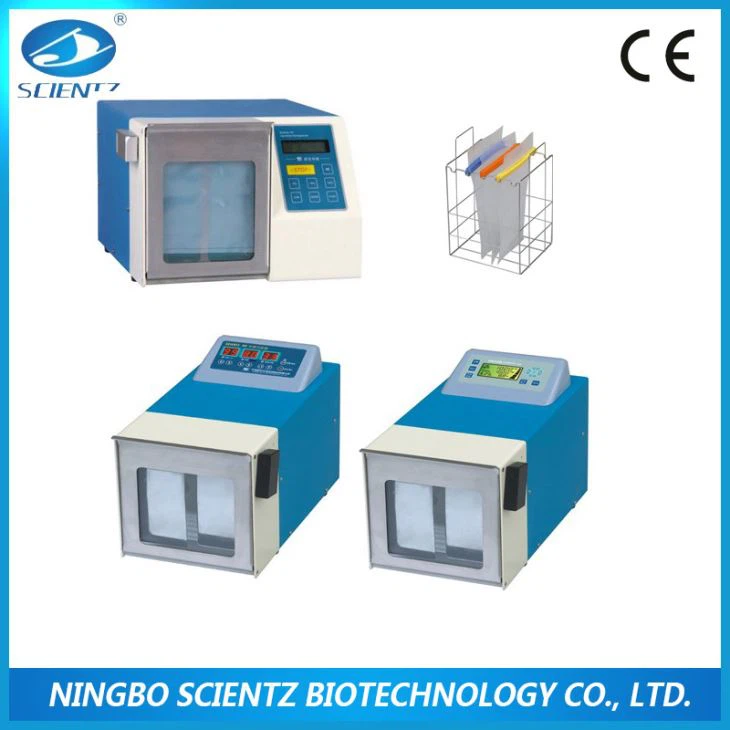

Now, as a Blender supplier, we also offer some related products that might interest you. If you're into scientific and laboratory work, you might want to check out our Scientz - 09 Digital Display Laboratory Paddle Blenders. These blenders are great for mixing and blending samples in a laboratory setting.
Also, for those who need high - performance homogenization, our High Performance Lab Ultrasonic Homogenizer Machine With Best Price is a great option. It can break down particles and create a more uniform mixture.
And if you're in the field of microbiology, our Stomacher Blender Microbiology is specifically designed to meet your needs. It's a reliable tool for sample preparation in microbiology research.
If you're interested in any of our products, or have any questions about using the Eevee rendering engine in Blender, don't hesitate to reach out to us. We'd be more than happy to have a chat with you and discuss your needs. Whether you're a beginner just starting out with Blender or an experienced user looking for new techniques, we're here to help.
Let's work together to achieve your Blender - related goals! Whether it's creating stunning renders or getting the right blender for your laboratory, we're your one - stop - solution.
References:
Blender official documentation
Personal experience using Blender over the years